DIY – How to Paint a Room

Painting a room can be a fun and rewarding DIY project. Follow this step-by-step guide to achieve professional-looking results.


Step 1: Gather Your Materials

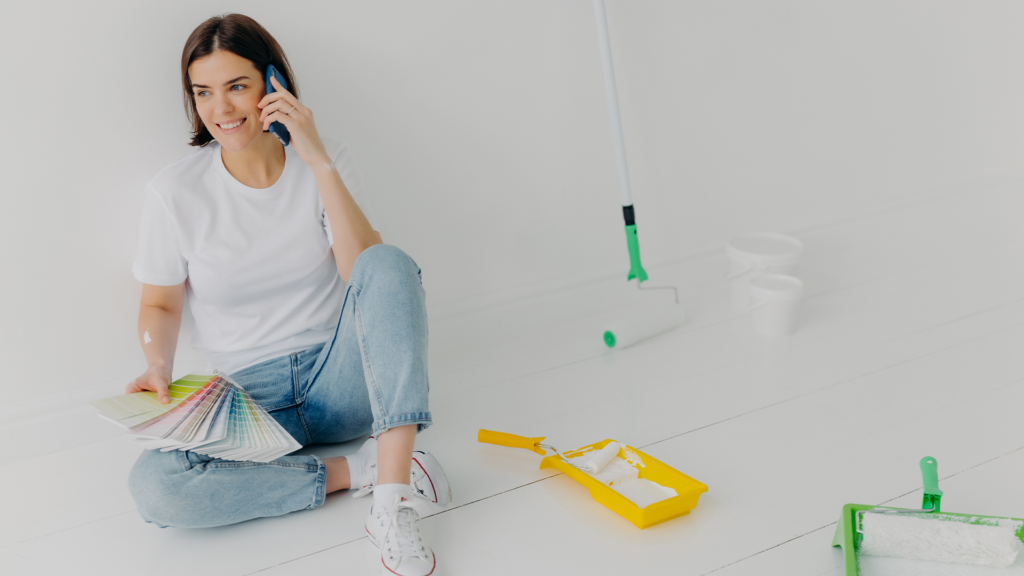
First, make sure you have all the necessary materials:

  • Paint
  • Brushes
  • Rollers
  • Painter’s tape
  • Drop cloths
  • Paint tray

Step 2: Prepare the Room

Preparation is key to a successful painting project:

  1. Move furniture to the center of the room and cover it with drop cloths.
  2. Apply painter’s tape to edges and trim to protect them from paint splatters.

Step 3: Cut In

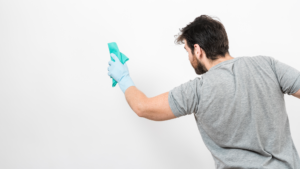
Cutting in is the process of painting the edges and corners of the room before you use the roller:

  1. Use a brush to carefully paint along the edges and corners where the roller can’t reach.
  2. Take your time to ensure clean, straight lines.

Step 4: Roll the Paint

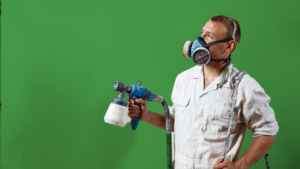
Now it’s time to cover the larger areas of the walls:

  1. Pour the paint into the tray and load your roller with paint.
  2. Apply the paint in a ‘W’ pattern to ensure even coverage. This helps to distribute the paint more evenly across the wall.

Step 5: Apply a Second Coat

For a professional finish, a second coat of paint is often necessary:

  1. Allow the first coat to dry completely.
  2. Apply a second coat using the same ‘W’ pattern technique.

Step 6: Clean Up

Once you’re finished painting, it’s time to clean up:

  1. Remove the painter’s tape carefully to avoid peeling off any fresh paint.
  2. Clean your brushes and rollers thoroughly so they can be used again.
  3. Roll up and store your drop cloths for future projects.

Enjoy Your New Room!

With the painting complete, step back and admire your handiwork. A freshly painted room can make a huge difference in the look and feel of your home.