DIY – How to Create Paint Textures

Adding texture to your walls can give a room a unique and dynamic look. Follow this simple guide to create textured walls with ease.


Step 1: Gather Your Materials

Before starting, make sure you have all the necessary materials:

  • Paint
  • Brushes
  • Rollers
  • Painter’s tape
  • Drop cloths
  • Texture tools (such as sponges, rags, combs)
  • Paint tray

Step 2: Prepare the Room

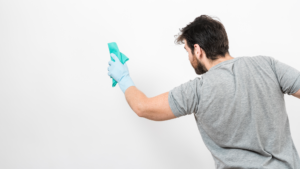
Preparation is key for a smooth painting process:

  1. Move furniture to the center of the room and cover it with drop cloths.
  2. Use painter’s tape to protect edges and trim from paint splatters.

Step 3: Apply a Base Coat

A solid base coat provides a foundation for the texture:

  1. Apply a base coat of paint to the walls.
  2. Let it dry completely before moving on to the next step.

Step 4: Create Texture

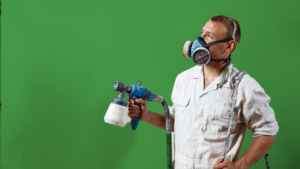
Now it’s time to add texture to your walls:

  1. Sponge: Dab paint onto the wall using a sponge for a soft, textured look.
  2. Rag: Create a ragging effect by rolling a rag in paint and then onto the wall.
  3. Comb: Make a striated pattern by dragging a comb through wet paint.

Step 5: Blend and Smooth

To achieve a cohesive look:

  1. Gently blend and smooth the textures with a brush or roller. This step ensures the texture is consistent and any harsh lines are softened.

Step 6: Final Touches and Clean-Up

Finish up your project with some final touches and clean-up:

  1. Add any final touches to perfect your textured wall.
  2. Let the paint dry completely.
  3. Remove the painter’s tape carefully.
  4. Clean your brushes and texture tools.
  5. Roll up and store your drop cloths for future projects.

Enjoy Your Textured Walls!

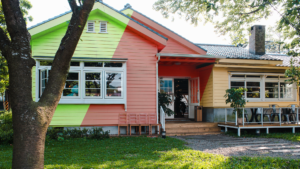
Step back and admire your work. Textured walls can transform the feel of any room, adding depth and interest.